
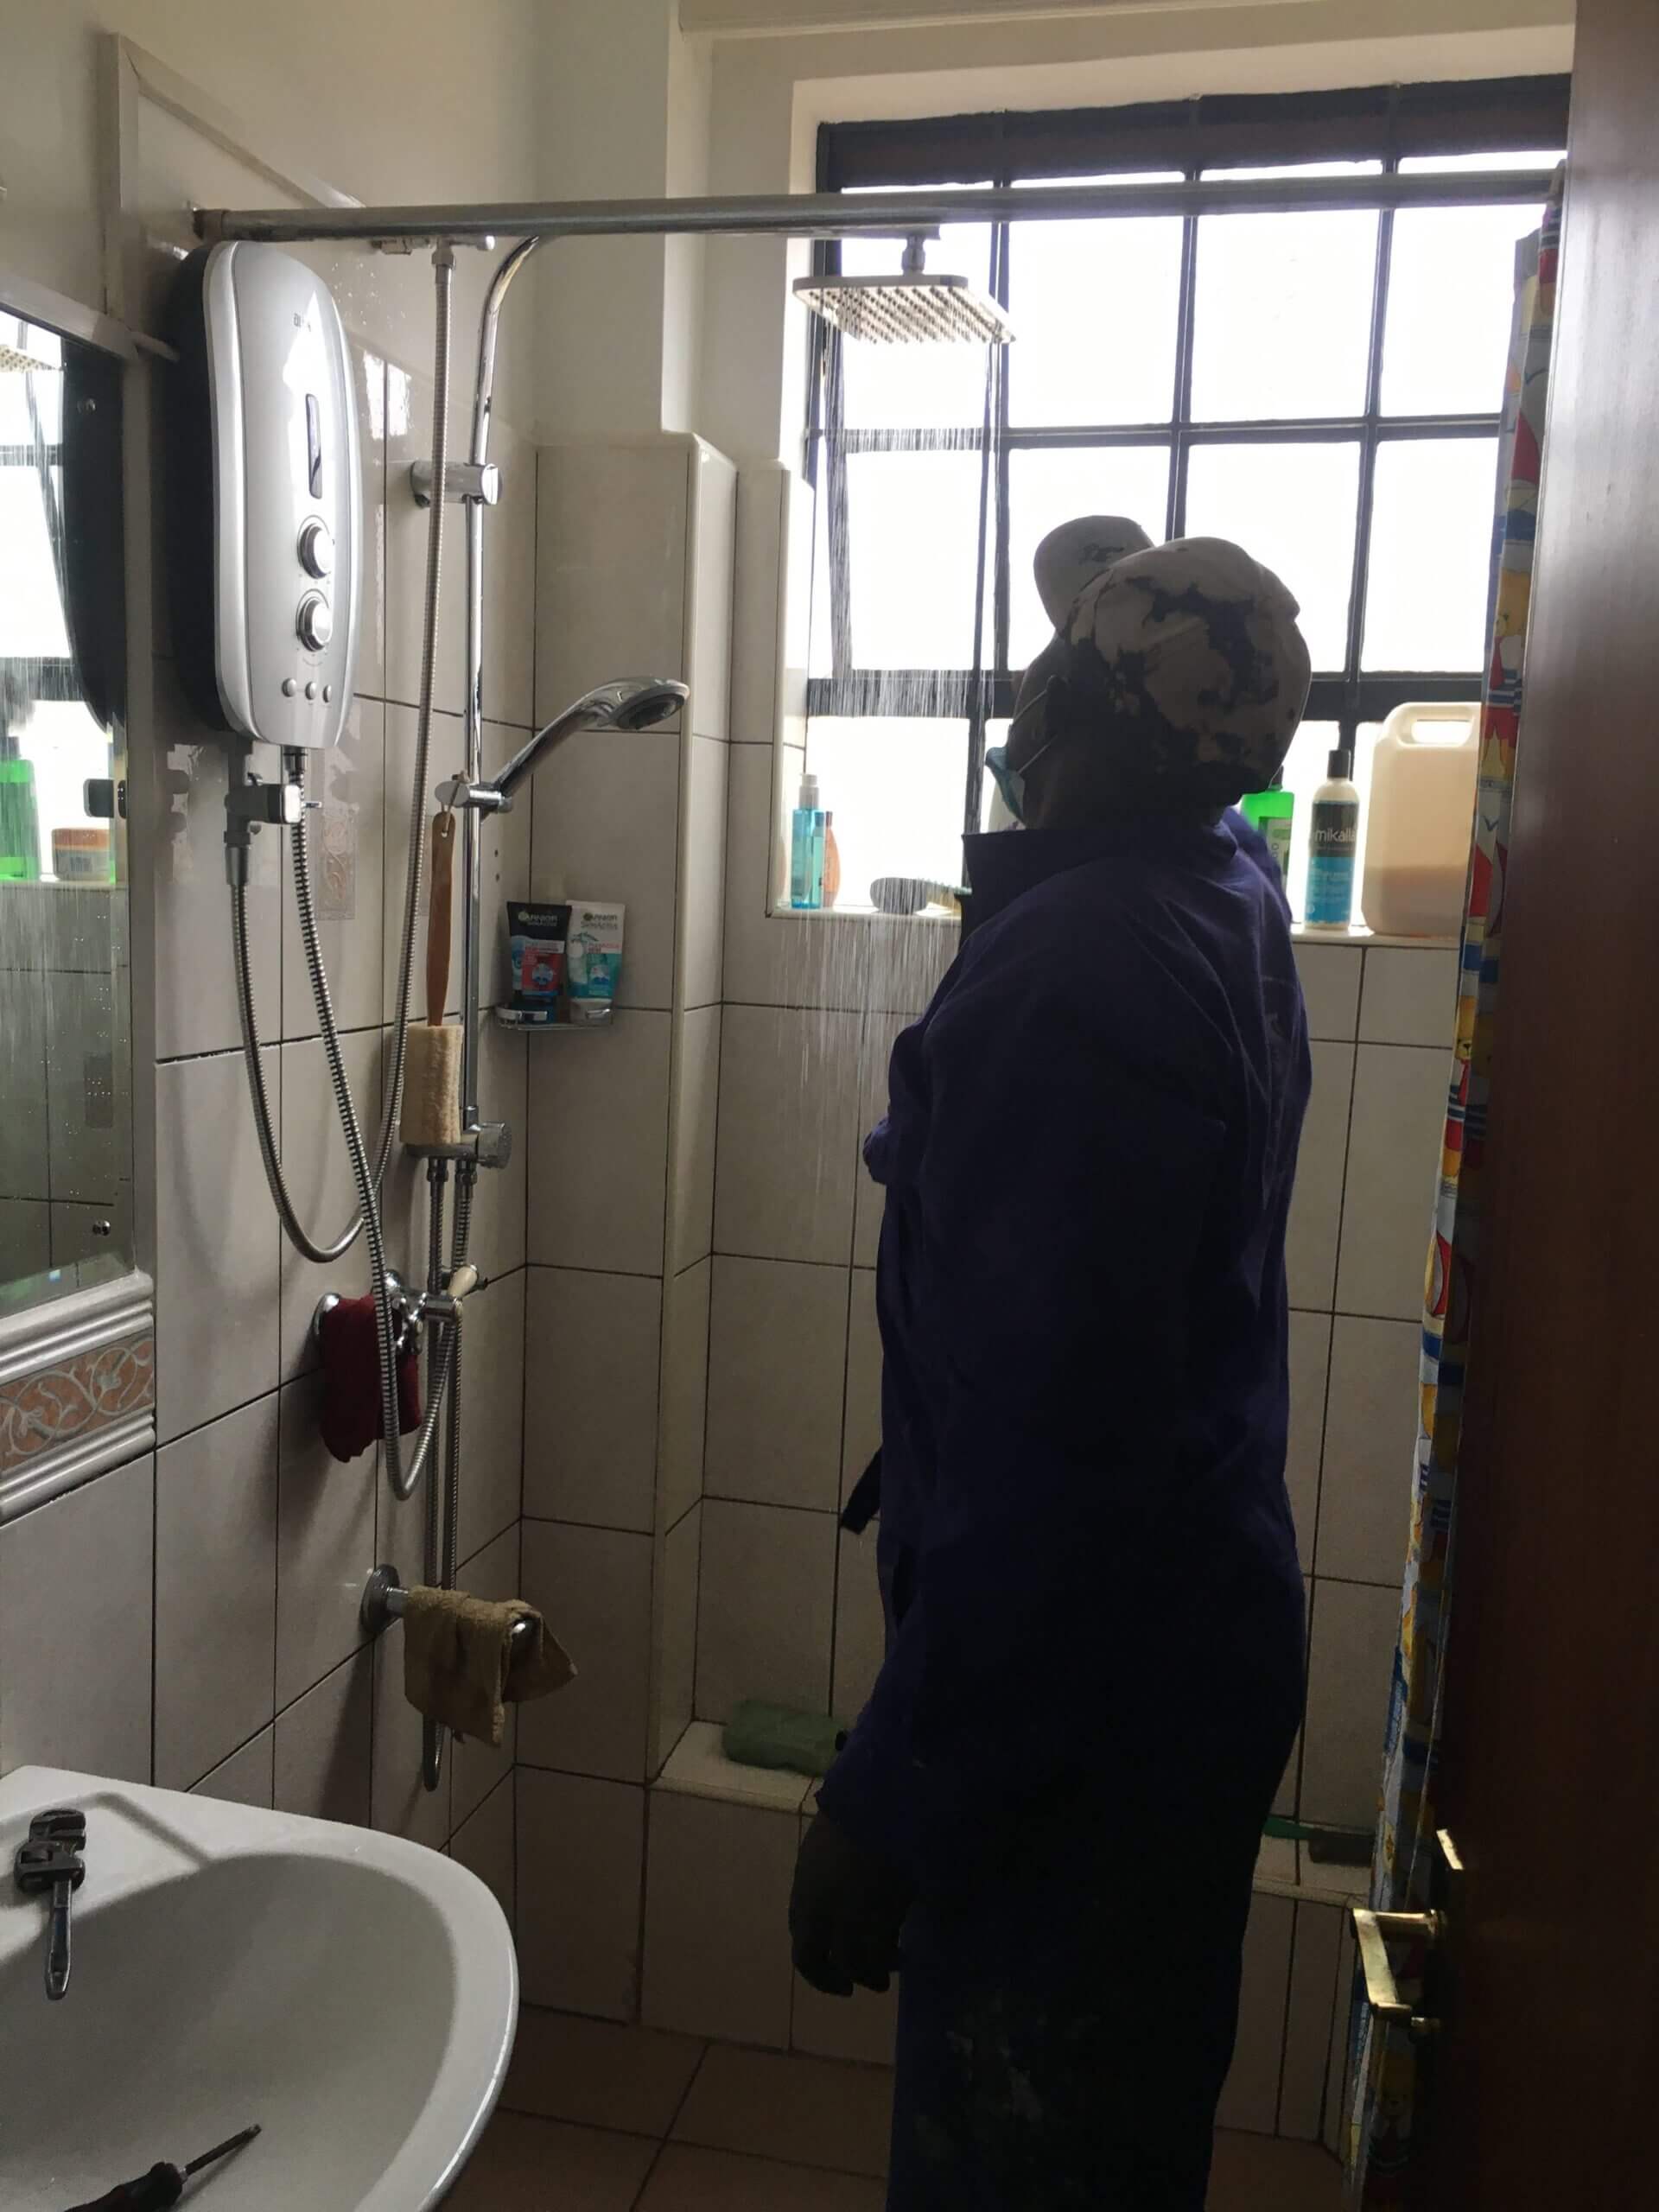
Bathroom shower repairs can be a daunting task, especially when faced with unexpected problems such as leaks or clogs. But fear not – with the right tips and tricks, you can tackle even the toughest shower repairs like a pro.
In this blog, we’ll explore some of the most common bathroom shower plumbing problems and provide practical advice on how to address them effectively.
It’s important to note that prevention is key when it comes to clogged shower drains. To prevent clogs, consider using a drain cover to catch hair and other debris, and avoid pouring oil or grease down the drain. Additionally, regular cleaning and maintenance can help prevent clogs and prolong the lifespan of your shower drain.
By removing visible debris from the drain and using vinegar and baking soda to dissolve buildup, you can help keep your drain clear and prevent clogs from forming. If the clog persists after attempting these DIY cleaning methods, it may indicate a more serious issue, such as a damaged or corroded pipe. A handyman plumber can diagnose the issue and provide effective shower repair services to clear the clog and prevent it from happening again in the future.
Installing a shower head is a simple and a straightforward install shower plumbing process that can be completed in just a few easy steps. Here’s how to install a shower head:
Step 1: Remove the old shower head
Use an adjustable wrench to loosen and remove the old shower head. Turn the shower head counterclockwise until it comes off the shower arm.
Step 2: Clean the shower arm
Clean the shower arm with a cloth to remove any debris or old Teflon tape.
Step 3: Apply Teflon tape
Wrap the threads of the shower arm with plumber’s tape in a clockwise direction. This will help create a tight seal between the shower arm and the new shower head.
Step 4: Attach the new shower head
Screw the new shower head onto the shower arm by turning it clockwise. Hand tighten it first, and then use the adjustable wrench to tighten it a little further. Be careful not to over tighten the shower head, as this can damage the shower arm or cause leaks.
Step 5: Test for leaks
Turn on the water and check for leaks around the shower head. If there are any leaks, try tightening the shower head a little more or reapplying Teflon tape to the shower arm.
That’s it! With these simple steps, you can easily install shower plumbing and enjoy a refreshing shower experience. Call a professional plumber incase you are not that handy to do it yourself.
Tip: Regularly servicing your shower head can help prolong its lifespan and prevent issues that may lead to costly shower repairs.
A screaming shower is usually caused by a high-pitched whistling or squealing noise coming from the showerhead. This can be a frustrating and annoying problem, but fortunately, there are some steps you can take to solve it:
A leaking shower can be a frustrating and wasteful problem, and if left untreated, it can cause damage to your bathroom and potentially increase your water bill. Here’s how to repair a leaking shower:
Step 1: Identify the source of the leak
Check for any visible cracks, gaps, or holes in the shower tiles, grout, or caulking. Run the shower to see if the leak persists. If you can’t identify the source of the leak, you may need to call a professional plumber.
Step 2: Remove any damaged grout or caulking
Use a grout saw to remove any damaged or cracked grout from the affected area. If the caulking around the shower base or fixtures is damaged, use a utility knife to carefully remove it.
Step 3: Clean and dry the area
Use a sponge and a bucket of water to clean the area thoroughly, then dry it with a towel. Make sure there’s no water left in the area before proceeding to the next step.
Step 4: Apply new grout or caulking
Using a caulk gun, apply a new bead of caulking around the shower base or fixtures, making sure to seal any gaps or holes. If you removed grout, apply new grout to the affected area using a grout float. Make sure the grout is level and flush with the surrounding tiles.
Step 5: Allow the area to dry
Let the caulking or grout dry completely according to the manufacturer’s instructions before using the shower.
Leaking shower repair prevents further damage to your bathroom. If the leak persists after attempting these repairs, it may be necessary to call a professional plumber for further inspection and shower repair services.
Bathroom shower repair services cover various solutions as identified in this blog. Maintenance and prevention can extend your shower system’s life and save on costly plumbing repairs. Professional help may be needed for severe issues.

Handyman repairs and building works is a social enterprise brand with the aim to empower and improve the livelihoods of youths with technical skills in Kenya putting them at a global competitive level.
We’ll keep you updated with the latest updates about property maintenance and renovation. We’ll give you the best offers and tips through email when you sign up.
WhatsApp us